
How to Book Lead-Gen Appointments with ManyChat & ScheduleOnce
As a chatbot marketer, generally more demo calls = more sales. And the same is true for your clients if they use discovery calls to close deals.
However, if you’ve ever tried to schedule a meeting via email, you know just how big of a pain it can be. Cue multiple emails back and forth, waiting days for a reply, and lots of time zone confusion…
Instead, imagine your chatbot sends prospects links where they schedule their own appointment (in their own timezone) in just a few clicks. Then they get an automatic calendar invite and reminders so they actually pick up at the time of the call.
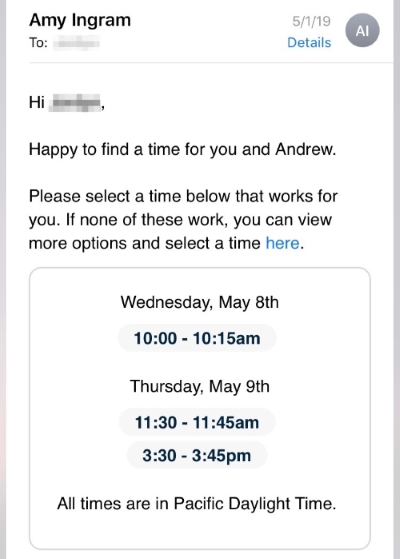
Plus, you look more credible and professional because it’s like having your own virtual assistant. Andrew, Bot Academy’s founder, even uses a scheduling bot with a name: Amy.
In this article, we’ll cover why scheduling tools are even more powerful when paired with chatbots and how to integrate them using Zapier.
One of our graduates, Vincent Tandiono, created a great video tutorial (below) on this topic that inspired us to create this post. He uses ScheduleOnce as his appointment tool and ManyChat for chatbot building, so those are the tools we’re featuring here. Note that you need a ManyChat PRO account to access this feature!
(Vincent’s video linked below is available only to Bot Academy members in the private Facebook group but this post will go through each step.)
There are lots of scheduling tools that integrate with chatbots using a similar process in Zapier, so if you use a different platform you can search Zapier’s library for the connection you need.
Let’s begin!
Why Clients Love This
If you work with clients who rely on discovery calls to close sales (or you want to), using chatbots to set more appointments is a powerful way to increase your value as a partner.
In fact, these are prime targets for your chatbot business!
They typically offer high-end, expensive services like business coaching or concierge medicine that require persistent, personalized messaging to close the sale. They are also more likely to need ongoing, retainer services that you can charge a monthly fee for.
If you’re looking to pitch more clients like this, share these 6 reasons chatbots and scheduling tools can help them close more sales.
6 reasons chatbots scheduling grows sales:
- More appointments. Facebook Messenger chats get higher open and click rates than emails or Facebook ads, so more users see your message and book appointments.
- No-hassle scheduling. When users are ready to book, they can select appointment times based on your real-time availability so there’s no back and forth about “what time works for you?”
- Higher quality leads. Using a targeted question, or series of questions, you can qualify and segment the lead before inviting them to book an appointment.
- Higher conversion rates. Using ManyChat’s hidden fields, you can pull in name, email, user ID, and other data so there are fewer steps for the user, leading to higher conversion rates.
- More chances to convert. If the user does not book, you can continue the conversation via Messenger and send additional invitations to schedule once the lead is warmer.
- Tailored sequencing. When the user converts, they are automatically removed from the invitation sequence. Bonus points if you drop them into a follow-up sales sequence after their appointment to keep them moving through the funnel!
Setting Up Your ScheduleOnce and ManyChat Integration
Here are the step-by-step instructions to set up your integration and book more appointments for yourself or your clients!
In ScheduleOnce
First, we need to customize the ScheduleOnce form to collect the ManyChat user ID, unseen to the user.
- Log into your ScheduleOnce account and go to the Booking Form you plan to use in your ManyChat sequence.
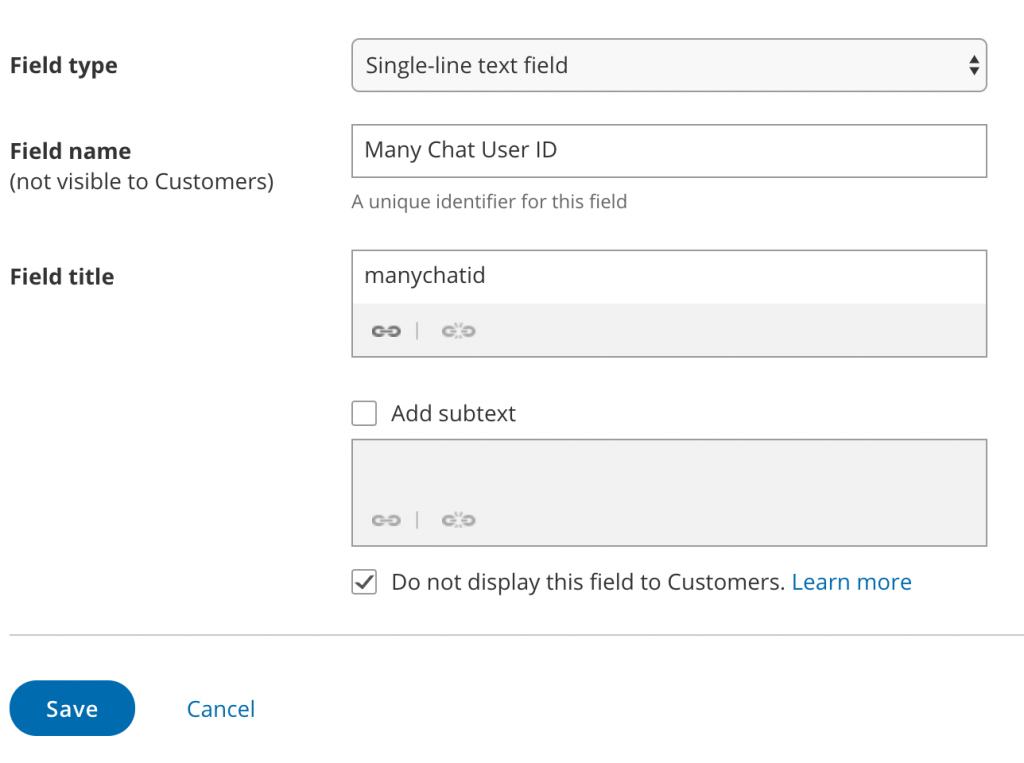
- In the right-hand side, click the “Add Custom fields to library” button and enter the following info.

- Change the field name to ManyChat User ID or something similar (this is an internal label visible only to you)
- Change the field title to manychatid. Take note of the exact name as you will use this later.
- Tip: Since this will be used as a link parameter (meaning in a URL) don’t use spaces or capital letters.
- Check the box for “Do not display this field to Customers”
- Save the field
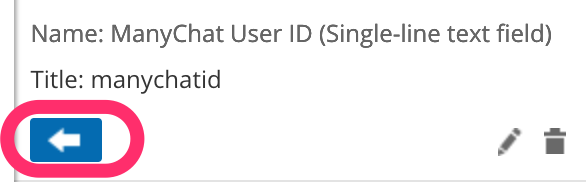
- Return to your booking field and in the right-hand Fields library menu, open the Custom fields dropdown and click the arrow to add your new ManyChatID field to your form.

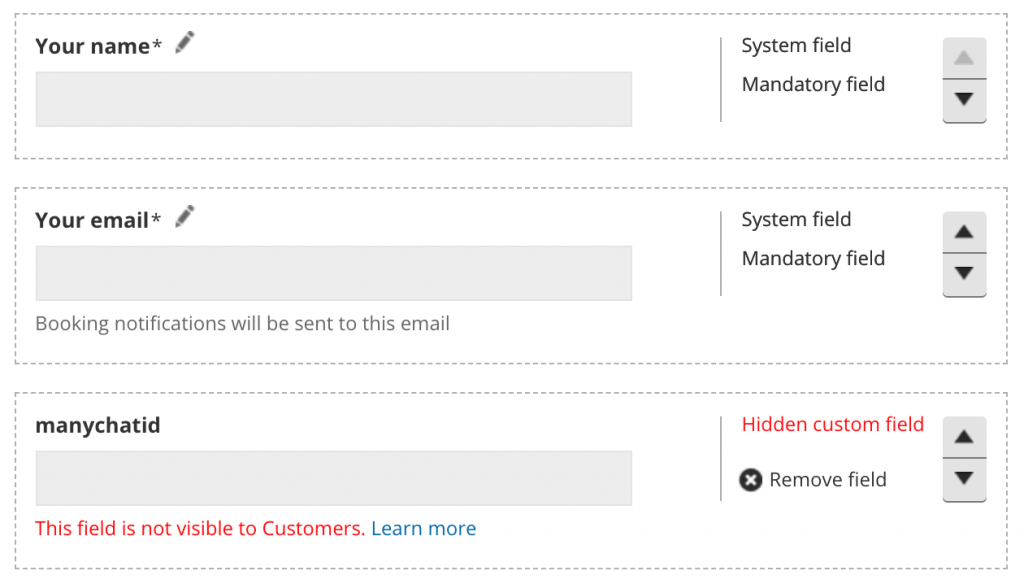
- Your booking form should now look similar to this. Note that the ManyChat ID field is marked as hidden in red, indicating users will not be able to view or accidentally change it.

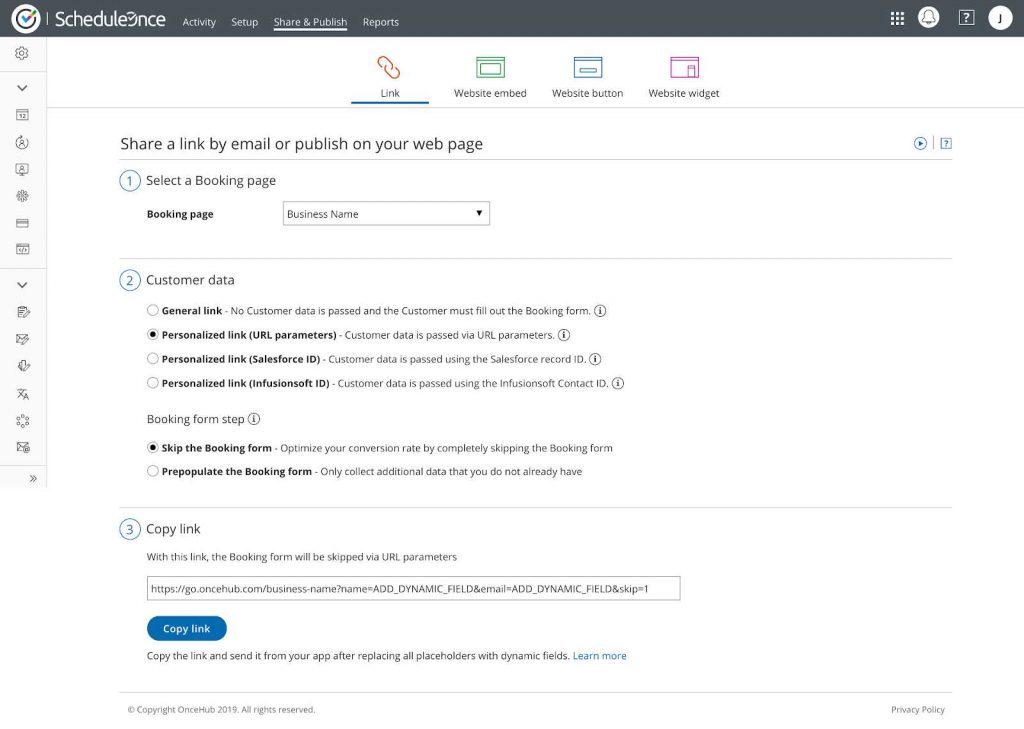
- Next, in the top menu click Share & Publish to generate your link for ManyChat.

- Select your booking page from the dropdown.
- Under customer data choose Personalized link (URL parameters) and Skip the Booking Form. This allows you to pass through the user name, email, and User ID using the button link in your ManyChat sequence, and will add skip=1 to the end of your link.
- Tip: This is key because the fewer steps there are in a conversion process, the higher the conversion rate typically is.
- Finally, click the Copy link button so that you can add it to your ManyChat Sequence (with a few edits).
In ManyChat
Next, we need to add the custom scheduling link into your ManyChat sequence and replace the dynamic fields with ManyChat’s user data.
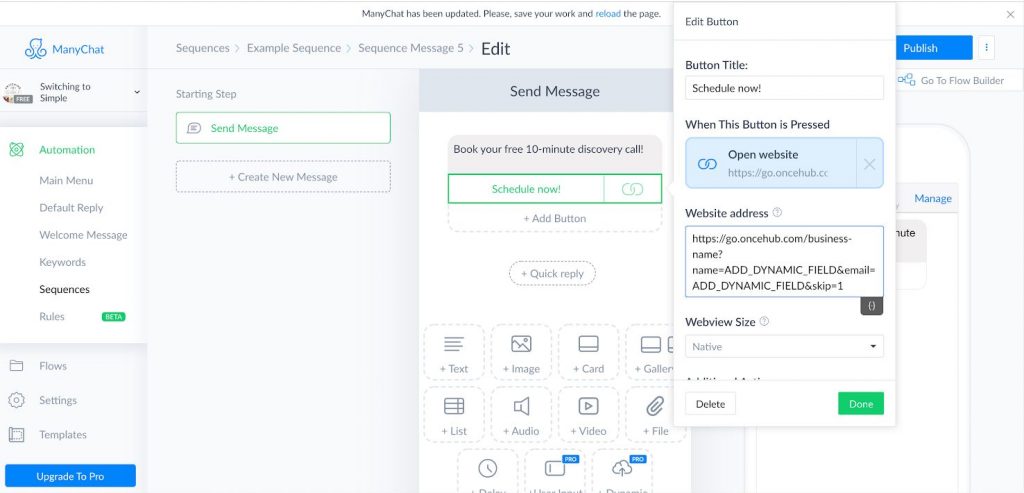
- Within ManyChat, navigate to the sequence and message where you want to use the link.
- Add a button, choose open website as the action, and paste your ScheduleOnce link into the website address field.

- Next, replace the name and email dynamic fields with ManyChat’s corresponding fields.

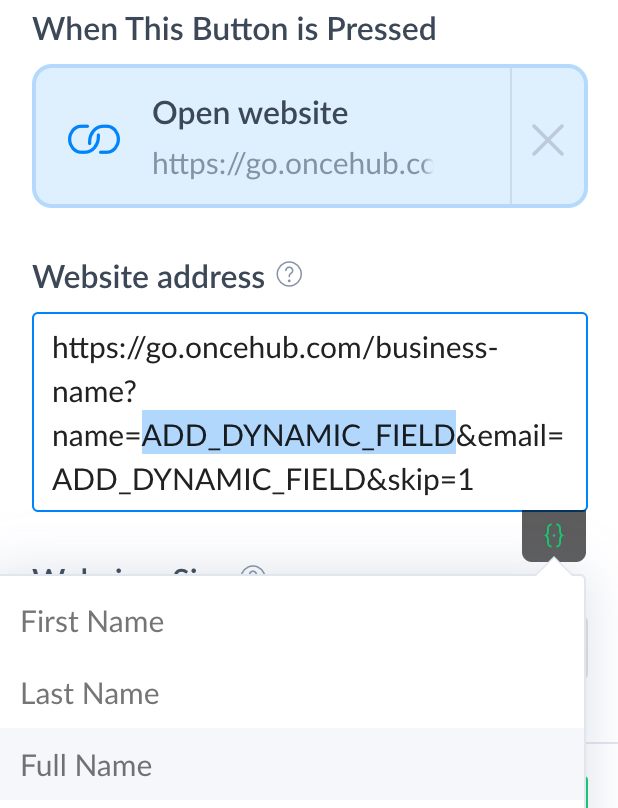
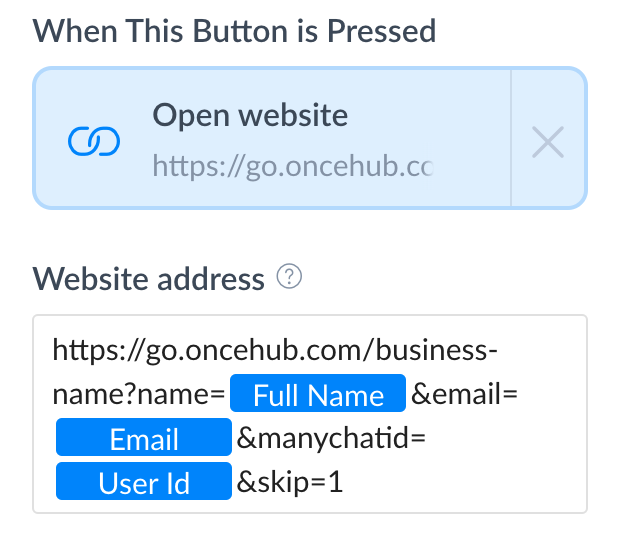
- In the URL after name= highlight “ADD_DYNAMIC_FIELD”, click the gray brackets button to open the merge fields and select Full Name.
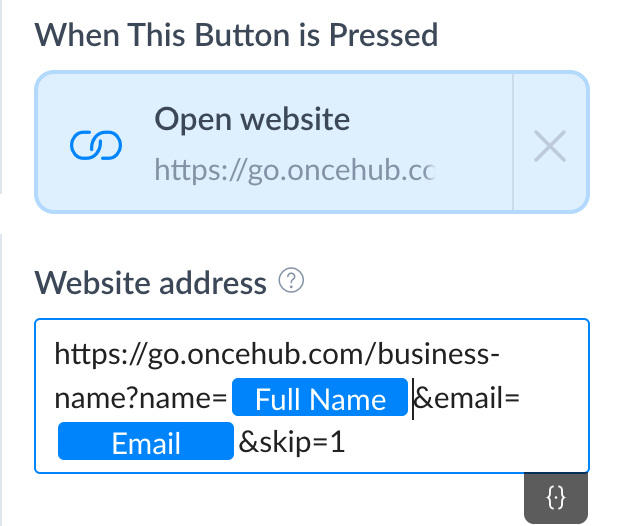
- Do the same for the email dynamic field. Your URL should now look like this.

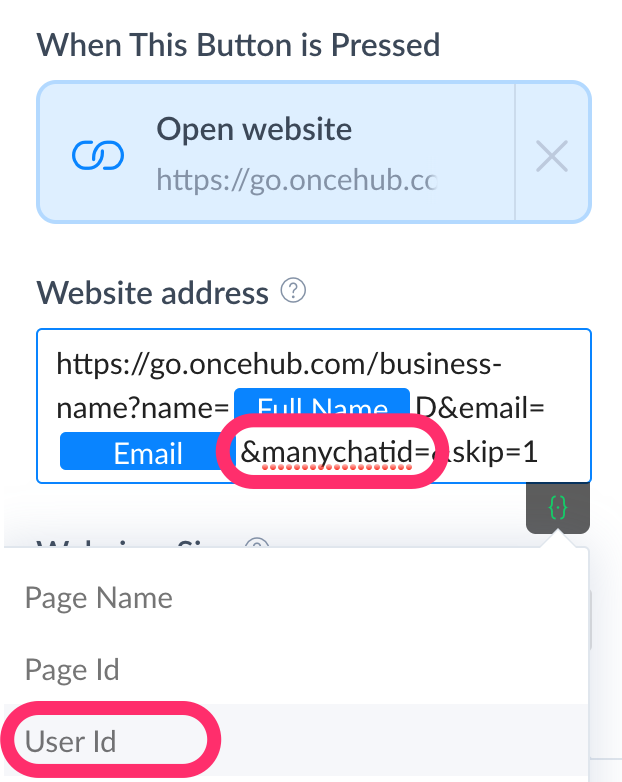
- Then, add the parameter for the ManyChat ID and fill it with User ID.

- After the blue Email field, type in the exact field title you used in ScheduleOnce (the one without spaces or capital letters) and the equal sign, so “manychatid=”
- Then select User ID from the merge fields dropdown. Your final URL now looks like this.

- Important: You may be tempted to trigger the “Unsubscribe from sequence” action when someone clicks this link. However, just because a user clicks does not mean they booked an appointment! So be sure to continue with the Zapier setup below.
In Zapier
Finally, we want to unsubscribe a user from your ManyChat sequence only AFTER they have booked an appointment. That way, they won’t receive any more invitations to book a call once they schedule, but not before.
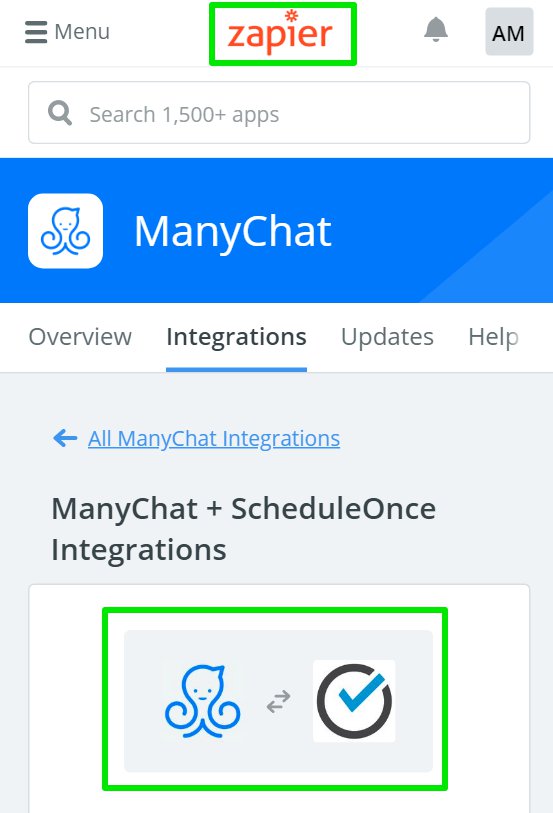
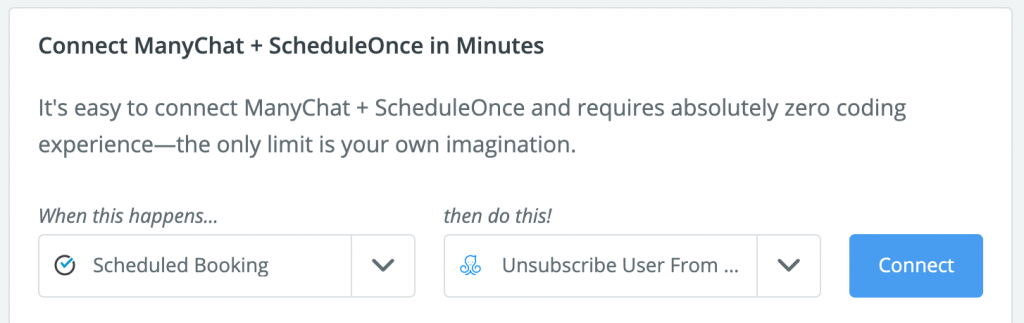
- Go to Zapier’s ManyChat and ScheduleOnce integration page and scroll to the “When this happens…then do this” section. Select Schedule Booking in the first dropdown and Unsubscribe From Sequence in the second.

- Set up your Trigger.
- Confirm ScheduleOnce is the triggering app, and ScheduledOnce is the triggering action.
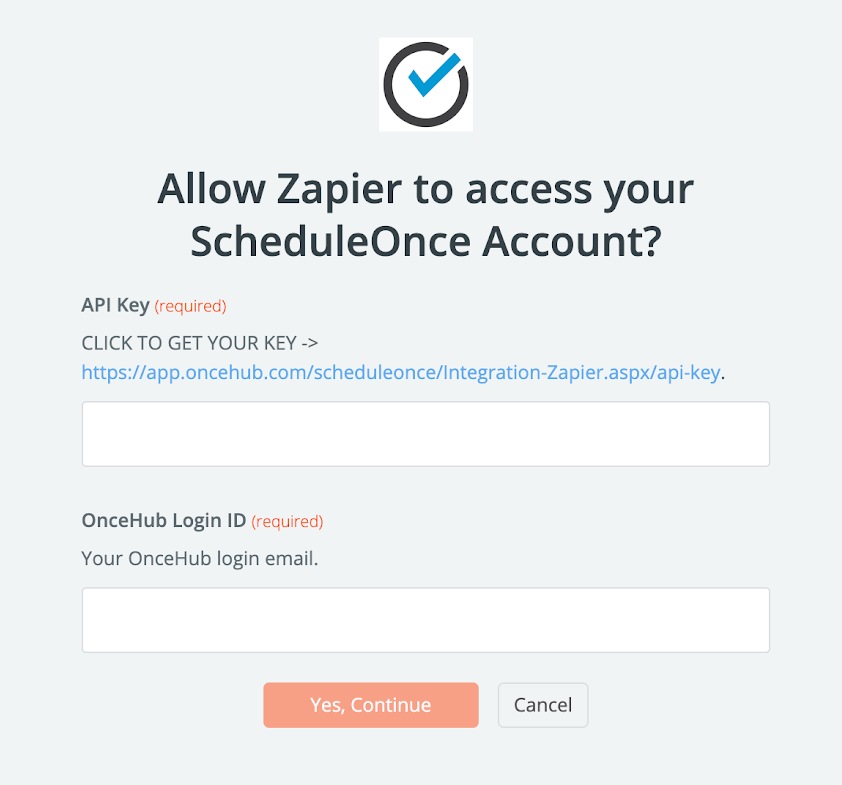
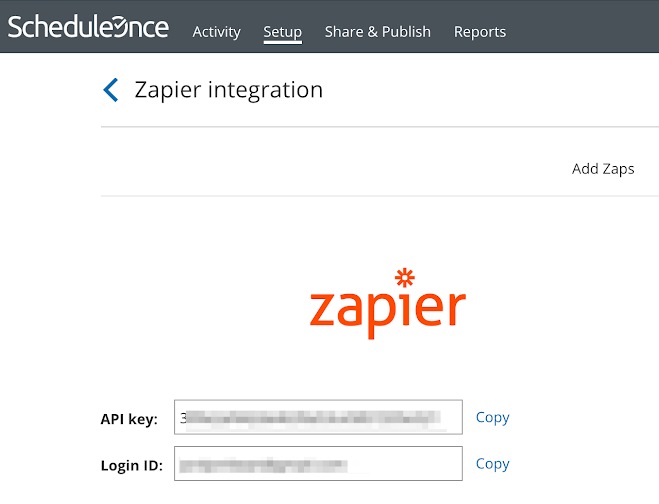
- Next, connect your ScheduleOnce account by clicking Connect an Account. You will see this popup to grab your API key from ScheduleOnce and enter your username.

- Click the link and you will be redirected to ScheduleOnce, where you can copy the API Key and username. Fill them in within Zapier.

- Set up your Action.
- Again confirm that ManyChat is your action app and the action is Unsubscribe From Sequence.
- Then select the ManyChat PRO account you want to use.
- This next step is where the magic happens! When you create your template, you’re telling Zapier which customer booked and what sequence they should exit.

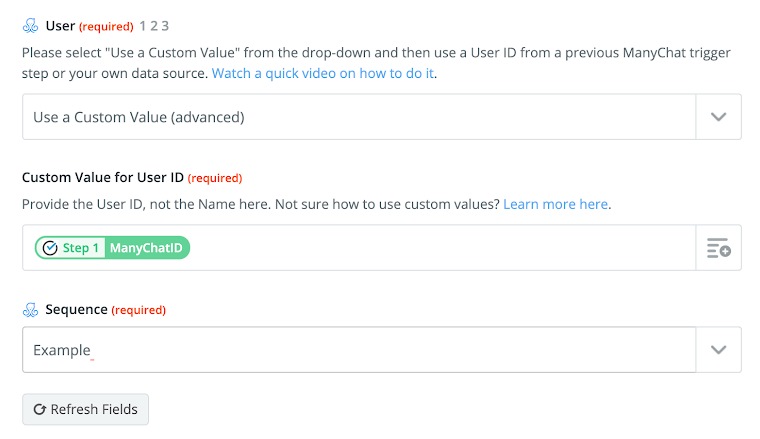
- In the User field, select “Use Custom Value” (Advanced).
- Under Custom Value for User ID click the insert field icon in the right to open the dropdown. Start typing in the field name you assigned to the ManyChat ID in ScheduleOnce and select.
- Then, select your ManyChat sequence from the dropdown.
What it Looks Like: Streamlined User Experience
Here’s what the 3-step process will look like for the user once the integration is complete.
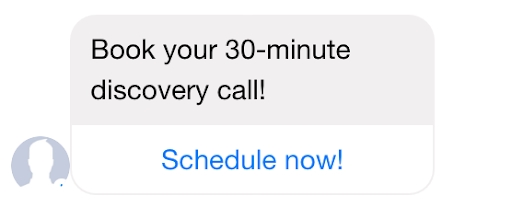
- User receives a message with a button to schedule their appointment.

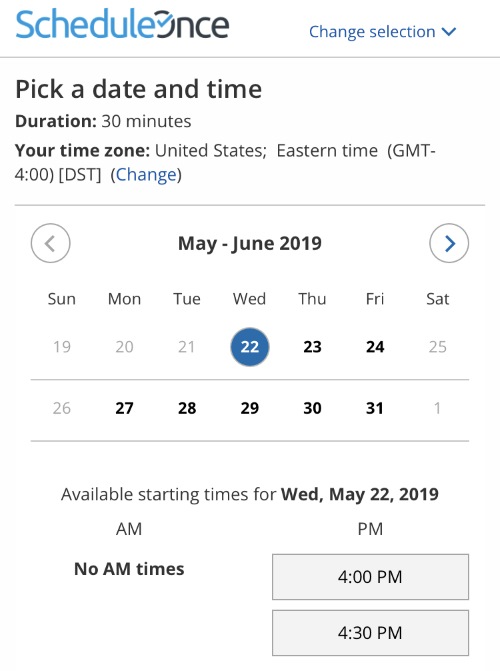
- They select their chosen date and time.

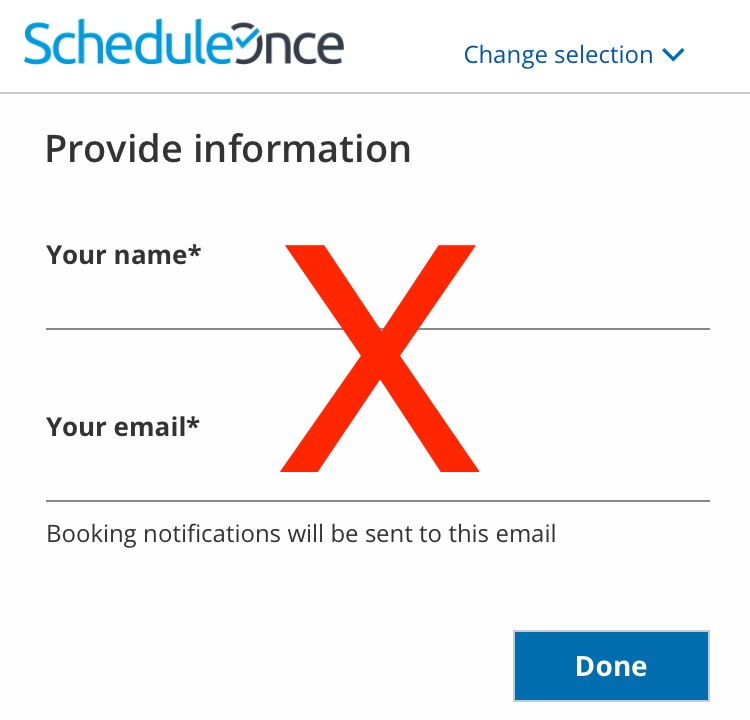
- They do NOT need to enter their name and email address because these are automatically pulled in via ManyChat, along with their User ID.

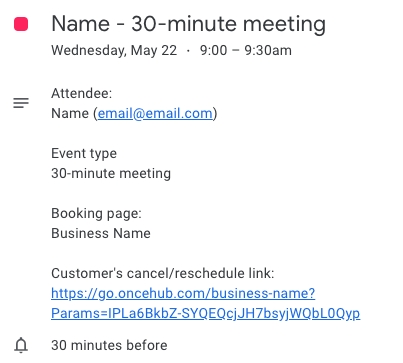
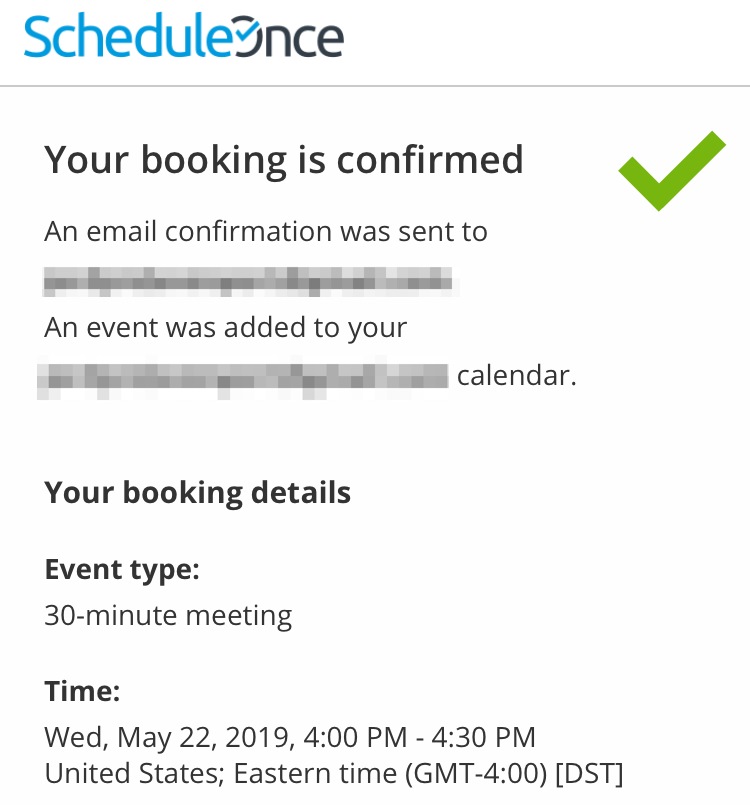
Instead, they go straight to the confirmation page!

Now celebrate as you set appointments on autopilot!


editor's pick
latest video
news via inbox
Nulla turp dis cursus. Integer liberos euismod pretium faucibua